Azure AD B2C and ASP .NET Core Web API

Short introduction
Web API access can be protected to avoid unauthorized access. In this article I would like to present how to configure Azure Active Directory B2C (Business-to-Consumer). Before that its worth to mention few words about Azure AD (Azure AD).
Azure Active Directory is a cloud identity provider service or Identity as a Service (IdaaS) provided by Microsoft.
Azure AD B2C is a separate service (with same technology as standard Azure AD) which allows organizations to build a cloud identity directory for their customers.
Setup Azure Active Directory B2C
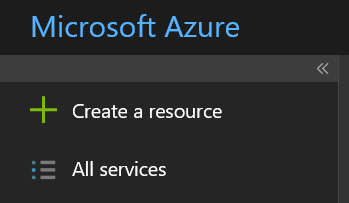
Once you sign in to Microsoft Azure Portal (Azure subscription is required here) click “Create resource” in the left top corner:
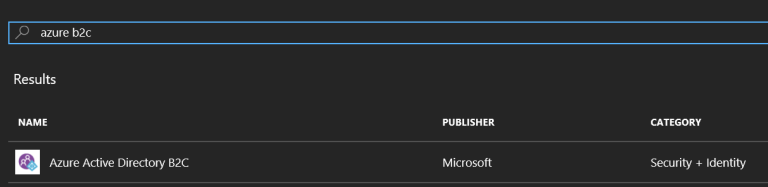
In search window type “azure b2c” and select “Azure Active Directory B2C” resource. Click “Create” button:
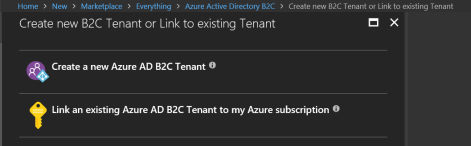
In the next tab select “Create a new Azure AD B2C Tenant”:
Then provide your organization name, initial domain name and country. Click “Create” button:

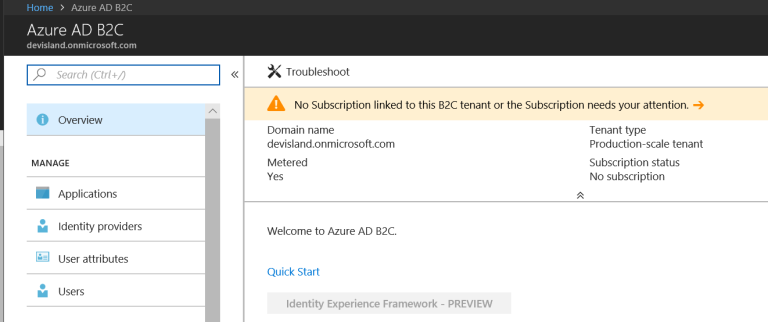
Once AD is created you can manage it:
Connect Azure Active Directory B2C with Azure subscription
You can notice that alert about missing subscription is displayed:
Click on the alert to proceed. There is clear information displayed how to link AD B2C with Azure subscription:
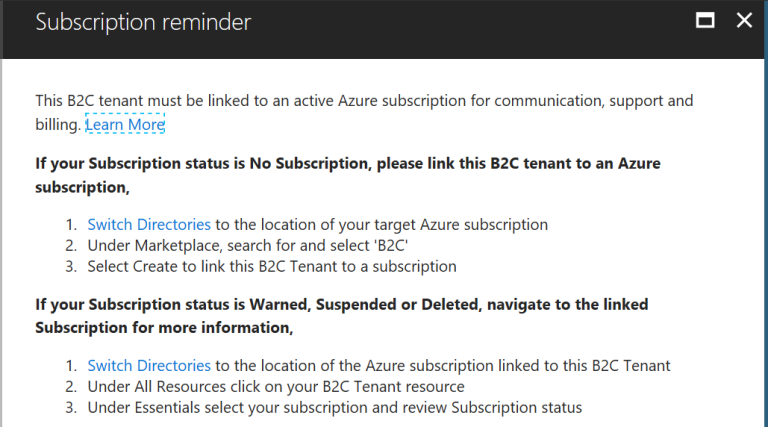
Click “Switch Directories” and select directory with active Azure subscription. Once you switch, find Azure B2C under Marketplace:
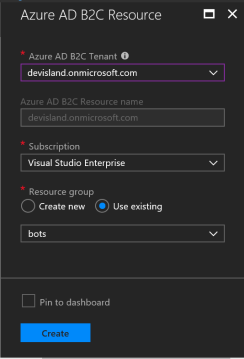
Now select “Link an existing Azure AD B2C Tenant to my Azure subscription”:

Choose Tenant, Subscription and optionally create new resource group (you can use existing):
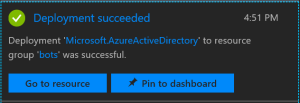
Once you click “Go to resource” and then click on the square with the name of your Tenant:
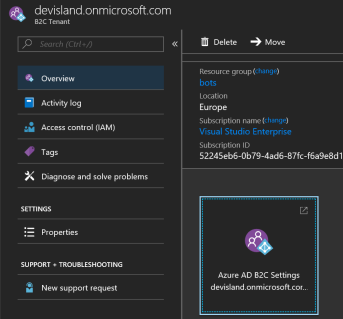
Azure AD B2C is ready:
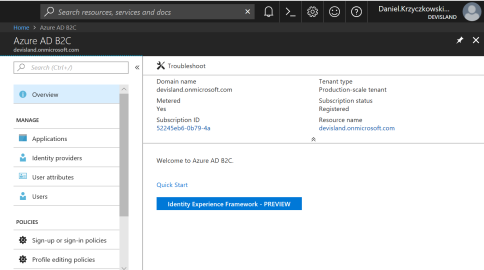
Configure Sign up policy
Once Azure AD B2C is ready to use it is time to configure polices. Policies fully describe consumer identity experiences such as sign-up, sign-in, or profile editing.
Example:
sign-up policy allows you to control behaviors by configuring the following settings:
- Account types (social accounts such as Facebook or local accounts such as email addresses) that consumers can use to sign up for the application
- Attributes (for example, first name, postal code, and shoe size) to be collected from the consumer during sign-up
You can read more under this link.
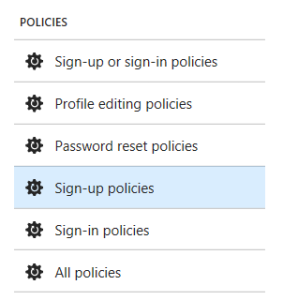
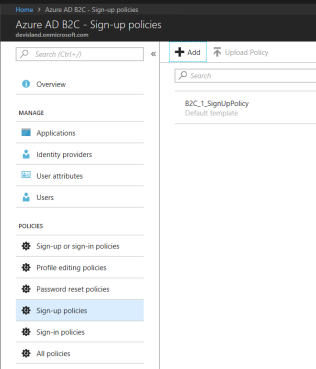
Sign-up policy
Add sign-up policy. Click “Sign-up policy”:
Click “Add” button. Blade with configuration should be displayed:
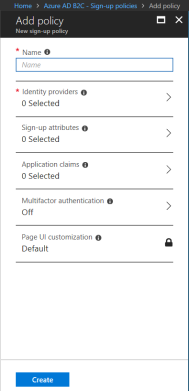
- Name - field where you can type the name of the policy
- Identity providers - here you can select whether you want to register user with e-mail and password or with for instance with Facebook
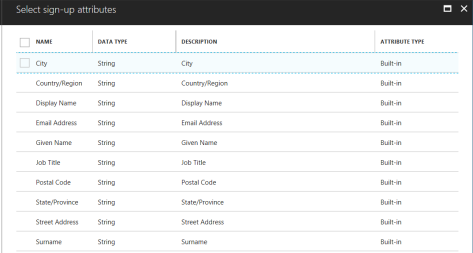
- Sign-up attributes - you can specify which attributes should be collected during registration, like City or Surname:
- Application claims - claims returned in token after successful authentication (the same like above)
- Multifactor authenticaton - you can enable multi-factor authentication
- Page UI customization - you can provide your custom UI for registration with Azure AD B2C
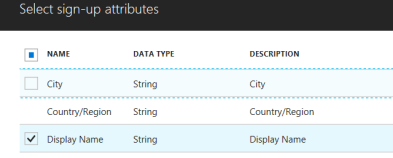
I will select collect “Display Name” during registration and from claims:
and standard registration with email and password as “Identity Provider”:

Once you click “Create” button policy should be displayed:
Register application
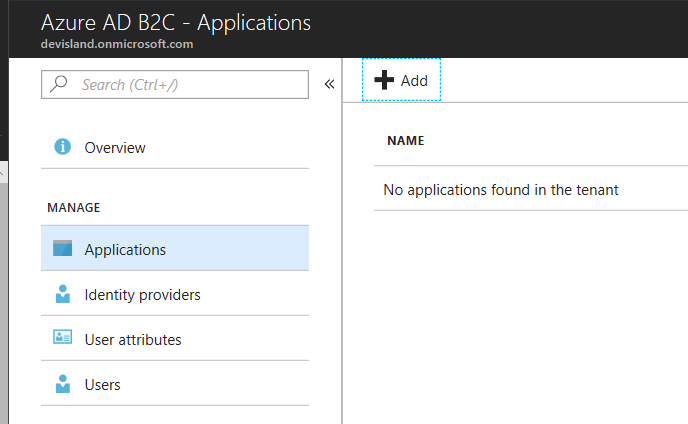
Once policies are defined it is time to register Web API applciation. Click "Application" section and then "Add":
To register Web Api application few details have to be provided:
- Name - name of the application
- Web App/Web API - turn on to indicate that you want to register Web API application
- Allow implicit flow - this option should be enabled if your app needs to use OpenID Connect sign in
- Reply URL - URL to which app should redirect after successful authentication. For Web API it can be just localhost as we do not have any UI
- App ID URI - optional attribute to specify unique Uri to identify your application. Add "api" at the end of the address
- Native client - should be disabled because we will not use mobile or desktop application

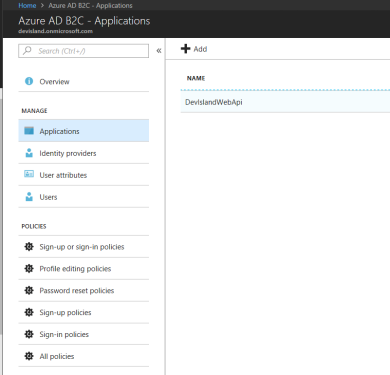
Once you click “Create” button application should be displayed on the list:
Application is registered. Now its time to setup ASP .NET Core Web Api application.
Integrate ASP .NET Core Web API with Azure AD B2C
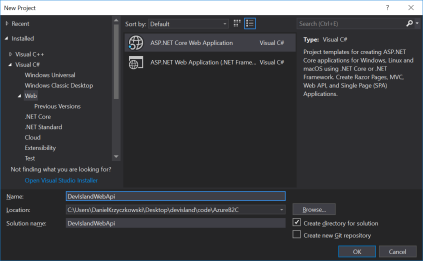
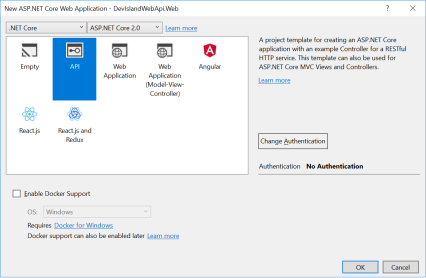
In Visual Studio select Web Application template and then choose API:
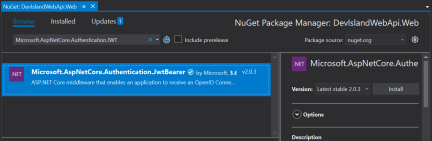
Add “Microsoft.AspNetCore.Authentication.JwtBearer” NuGet package:
Then its time to add Azure B2C settings in “appsettings.json” file:
"AzureAdB2C": {
"Tenant": "devisland.onmicrosoft.com",
"ClientId": "93f4e299-xxxxx-4feb-8b0c-xxxxxxxxxxx",
"Policy": "B2C_1_SignUpPolicy"
}
Copy “Tenant”, “ClientId “and “Policy” from Azure portal.
Now its time to integrate Azure AD B2C authentication in Startup.cs class.
“ConfigureServies” method should look like below:
 public void ConfigureServices(IServiceCollection services)
        {
            services.AddAuthentication(options =>
            {
                options.DefaultScheme = JwtBearerDefaults.AuthenticationScheme;
            })
                 .AddJwtBearer(jwtOptions =>
                 {
                     jwtOptions.Authority = $"https://login.microsoftonline.com/tfp/{Configuration["AzureAdB2C:Tenant"]}/{Configuration["AzureAdB2C:Policy"]}/v2.0/";
                     jwtOptions.Audience = Configuration["AzureAdB2C:ClientId"];
                     jwtOptions.Events = new JwtBearerEvents
                     {
                         OnAuthenticationFailed = AuthenticationFailed
                     };
                 });

            services.AddMvc();
        }
“Configure” method should look like below. “app.UseAuthentication” should be added:
 public void Configure(IApplicationBuilder app, IHostingEnvironment env)
        {
            if (env.IsDevelopment())
            {
                app.UseDeveloperExceptionPage();
            }
            app.UseAuthentication();

            app.UseMvc();
        }
Last change - add “Authentication” attribute in “ValuesController” generated as default controller to prevent unauthorized access:
    [Authorize]
    [Route("api/[controller]")]
    public class ValuesController : Controller
Rebuild project to check if everything was configured as expected.
Test entire solution
Now its time to test Azure AD B2C authentication with ASP .NET Core Web API.
In Azure portal open “B2C_1_SignUpPolicy” policy and click “Run now” button:

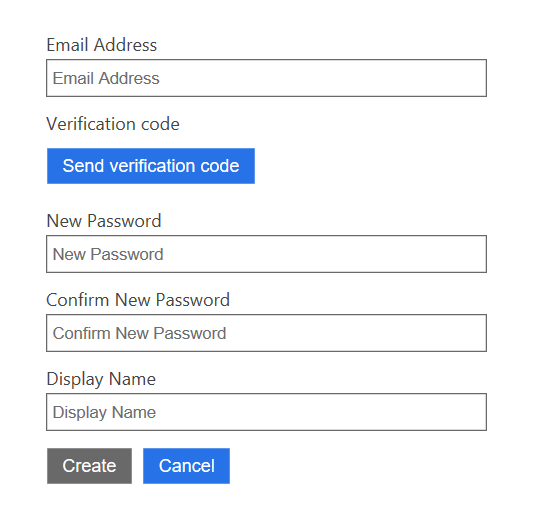
Registration page should be displayed. Please note that there is additional field called “Display Name” we configured in the policy:
Fill all required data. After successful authentication token should be returned in URL:
![]()
Copy the token. I use Postman to test API requests.
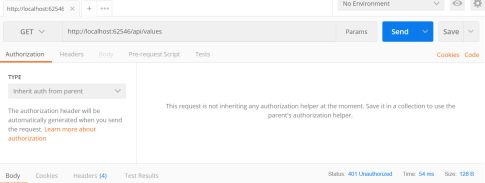
If I invoke “api/values” endpoint without token API will return 401 unauthorized http status:
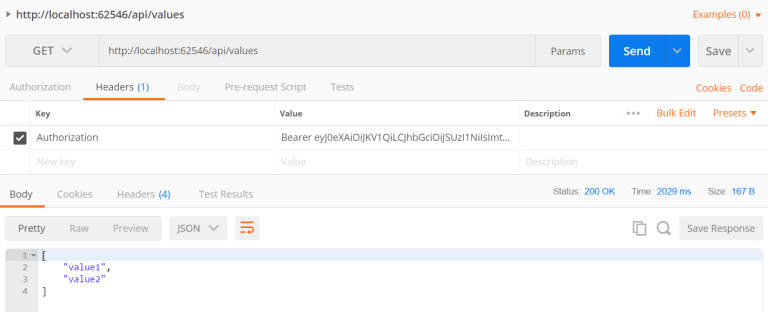
After adding token in header I am able to get values from API:
Wrapping up
In this article I presented how to configure Azure Active Directory B2C and integrate authentication in ASP .NET Core Web API project. I encourage you to test different policies setup and to integrate your Azure AD B2C with identity providers like Facebook or Google. Source code of the DevIslandWebApi project is available on my Github here.