Cars Island - Azure Infrastructure as a Code - part 11
Introduction
In my first article, I introduced you to Cars Island car rental on the Azure cloud. I created this fake project to present how to use different Microsoft Azure cloud services and how to their SDKs. I also presented what will be covered in the next articles. Here is the next article from the series where I would like to discuss how to use Azure Resource Manager (ARM) templates to create Azure services.
Below I present solution architecture:
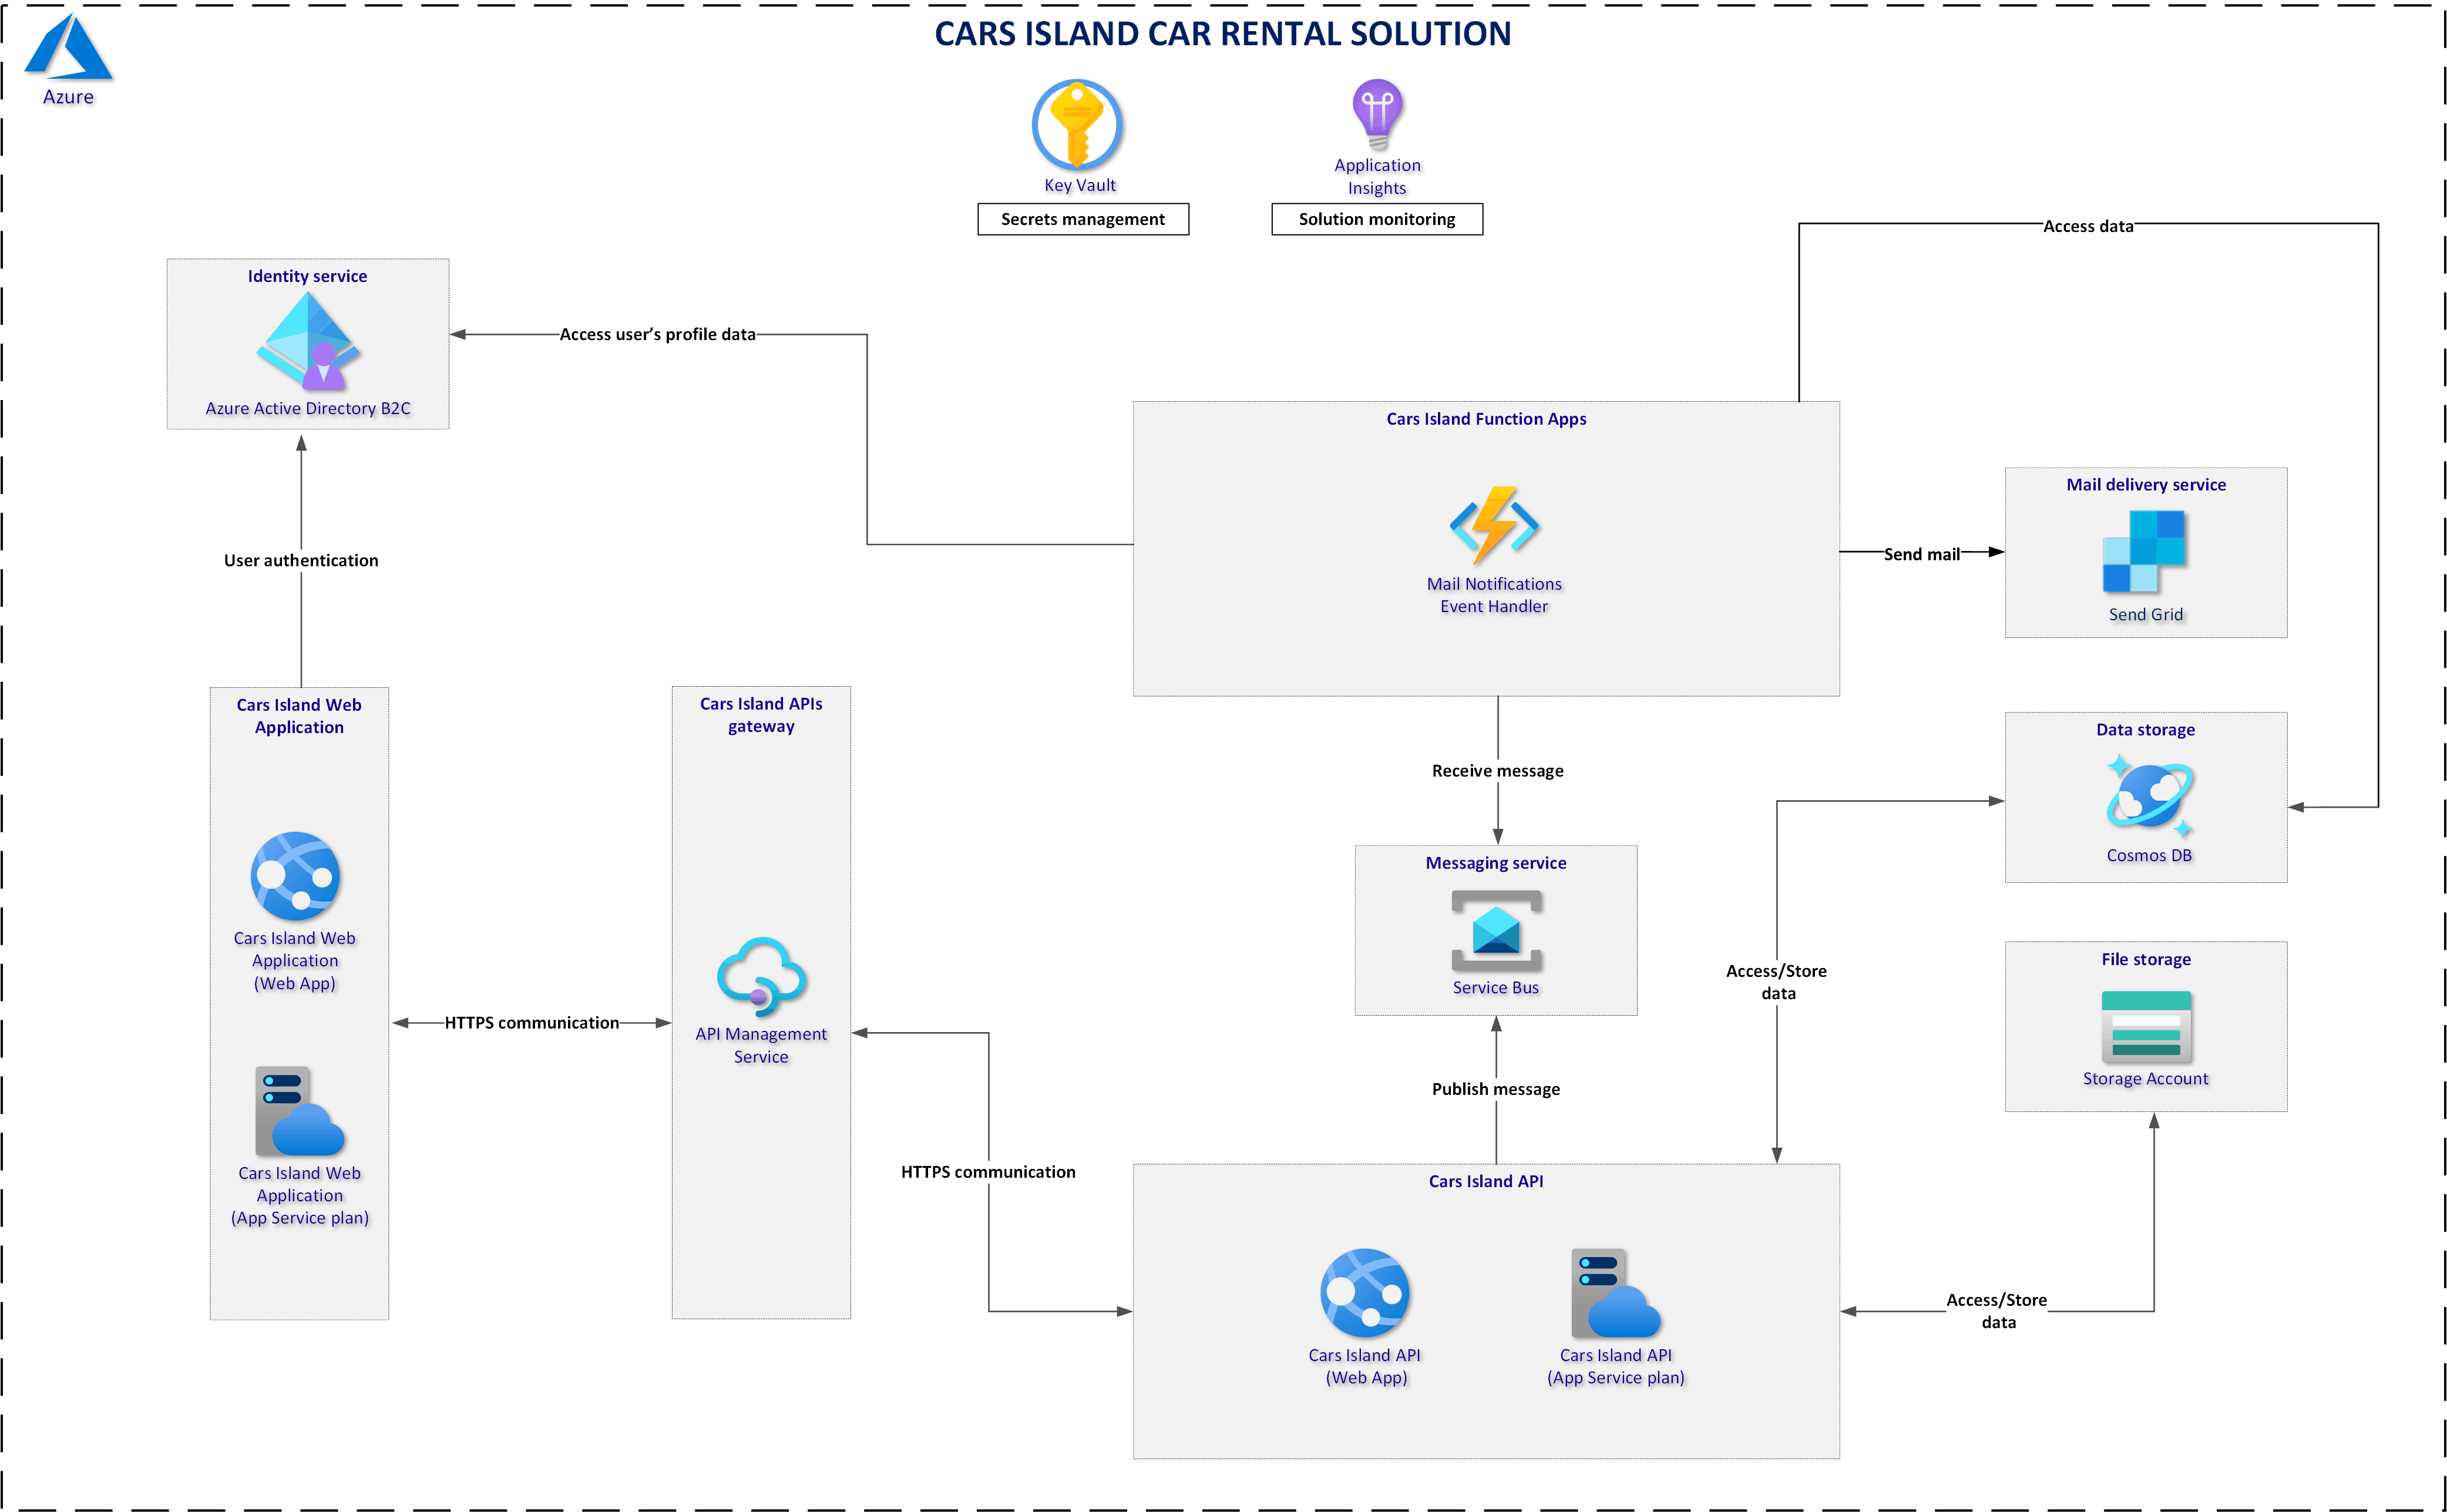
Cars Island project is available on my GitHub
Azure Resource Manager Templates (ARM)
The easiest way to create resources in the Azure cloud is to use the Azure portal of course. This approach is good when we want to create one or two resources manually and quickly. For more complex solutions it is recommended to use Azure Resource Manager (ARM) templates to create Azure resources. This is why I decided to ARM templates in the Cars Island solution.
ARM templates structure
ARM templates have a specific structure. It looks like below:
{
  "$schema": "https://schema.management.azure.com/schemas/2019-04-01/deploymentTemplate.json#",
  "contentVersion": "",
  "apiProfile": "",
  "parameters": {  },
  "variables": {  },
  "functions": [  ],
  "resources": [  ],
  "outputs": {  }
}
I will not go through each section because it is well described in the official documentation. The most important elements are parameters and resources. The resources section contains types of Azure services that are deployed or updated in a resource group or subscription. Parameters are values that are provided when deployment is executed to customize resource deployment (using parameters we can define the name of the resource for instance).
ARM templates in the Cars Island solution
In the Cars Island solution, I prepared ARM templates to create Azure resources. Important - I did not customize these templates fully so for instance you have to fill out the secrets in the Key Vault manually. Of course in the production solutions, you can fully customize ARM templates to, for instance, get a connection string for the Service Bus and place it in the Key Vault. In Cars Island all resources are created automatically but then some manual configuration is required.
In the arm-templates catalog on my GitHub you will find all ARM templates I prepared. Let me explain the structure:
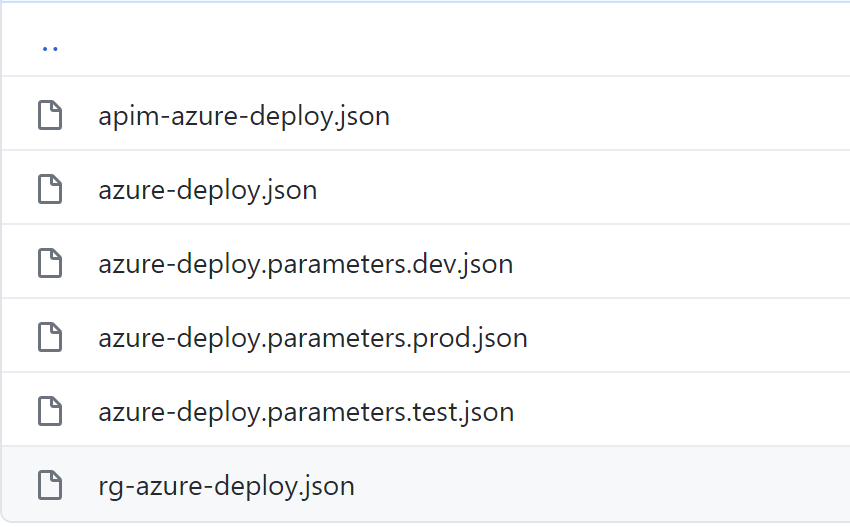
rg-azure-deploy.json
This ARM template is used to create new resource group in the Azure cloud. As you can see we can set location and name:
{
    "$schema": "https://schema.management.azure.com/schemas/2019-04-01/deploymentTemplate.json#",
    "contentVersion": "1.0.0.0",
    "parameters": {
        "rgName": {
            "type":"string",
            "defaultValue":"rg-cars-island-dev"
        },
        "location": {
            "type": "string",
            "defaultValue": "westeurope"
        }
    },
    "functions": [],
    "variables": {},
    "resources": [
        {
            "name": "[parameters('rgName')]",
            "type": "Microsoft.Resources/resourceGroups",
            "apiVersion": "2019-10-01",
            "location": "westeurope",
            "dependsOn": [
            ]
        }
    ],
    "outputs": {}
}
apim-azure-deploy.json
This ARM template is used to create Azure API Management service. If you open it, you will notice that there are parameters for API Management’s name, publisher email, or SKU:
{
    "$schema": "https://schema.management.azure.com/schemas/2019-04-01/deploymentTemplate.json#",
    "contentVersion": "1.0.0.0",
    "parameters": {
        "resourceTags": {
            "type": "object",
            "defaultValue": {
                "Environment": "Dev",
                "Project": "Cars Island"
            }
        },
        "api_management_name": {
            "type": "string",
            "defaultValue": "apim-cars-island-dev"
        },
        "api_management_publisher_email": {
            "type": "string",
            "defaultValue": "EMAIL"
        },
        "api_management_publisher_name": {
            "type": "string",
            "defaultValue": "PublisherName"
        },
        "notificationSenderEmail": {
            "type": "string",
            "defaultValue": "apimgmt-noreply@mail.windowsazure.com"
        },
        "sku": {
            "type": "object",
            "defaultValue": {
                "name": "Developer",
                "capacity": 1
            }
        },
        "customPropertiesObject": {
            "type": "object",
            "defaultValue": {
                "Microsoft.WindowsAzure.ApiManagement.Gateway.Security.Protocols.Tls10": "False",
                "Microsoft.WindowsAzure.ApiManagement.Gateway.Security.Protocols.Tls11": "False",
                "Microsoft.WindowsAzure.ApiManagement.Gateway.Security.Protocols.Ssl30": "False",
                "Microsoft.WindowsAzure.ApiManagement.Gateway.Security.Ciphers.TripleDes168": "False",
                "Microsoft.WindowsAzure.ApiManagement.Gateway.Security.Backend.Protocols.Tls10": "False",
                "Microsoft.WindowsAzure.ApiManagement.Gateway.Security.Backend.Protocols.Tls11": "False",
                "Microsoft.WindowsAzure.ApiManagement.Gateway.Security.Backend.Protocols.Ssl30": "False",
                "Microsoft.WindowsAzure.ApiManagement.Gateway.Protocols.Server.Http2": "False"
            }
        }
    },
    "functions": [],
    "variables": {},
    "resources": [
        {
            "apiVersion": "2019-12-01",
            "name": "[parameters('api_management_name')]",
            "type": "Microsoft.ApiManagement/service",
            "location": "[resourceGroup().location]",
            "tags": "[parameters('resourceTags')]",
            "sku": {
                "name": "[parameters('sku').name]",
                "capacity": "[parameters('sku').capacity]"
            },
            "properties": {
                "publisherEmail": "[parameters('api_management_publisher_email')]",
                "publisherName": "[parameters('api_management_publisher_name')]",
                "notificationSenderEmail": "[parameters('notificationSenderEmail')]",
                "hostnameConfigurations": [
                    {
                        "type": "Proxy",
                        "hostName": "[concat(parameters('api_management_name'), '.azure-api.net')]",
                        "negotiateClientCertificate": false,
                        "defaultSslBinding": true
                    }
                ],
                "customProperties": "[parameters('customPropertiesObject')]",
                "virtualNetworkType": "None",
                "disableGateway": false,
                "apiVersionConstraint": {}

            },

            "identity": {
                "type": "SystemAssigned"
            }
        }
    ],
    "outputs": {}
}
azure-deploy.json
This ARM template contains all resource definitions for the Cars Island like Azure Functions, or Azure Cosmos DB. All resources are created in the same location as resource group’s location. Here is the location parameter:
    "location": {
      "type": "string",
      "defaultValue": "[resourceGroup().location]",
      "metadata": {
        "description": "Location for the resources."
      }
    },
I recommend seeing the whole structure of the file (which I will not paste here because it is too long). You will find out that parameters are defined for each resource and then these parameters are used in the resources section where the definition for each resource is written:
  "resources": [
    {
      "type": "Microsoft.Web/serverfarms",
      "apiVersion": "2018-02-01",
---->    "name": "[parameters('web_apps_server_farm_name')]", <----
      "location": "[parameters('location')]",
      "sku": {
        "name": "D1",
        "tier": "Shared",
        "size": "D1",
        "family": "D",
        "capacity": 0
      },
      "kind": "app",
      "properties": {
        "perSiteScaling": false,
        "maximumElasticWorkerCount": 1,
        "isSpot": false,
        "reserved": false,
        "isXenon": false,
        "hyperV": false,
        "targetWorkerCount": 0,
        "targetWorkerSizeId": 0
      }
    }
    ...
azure-deploy.parameters.xxx.json
There are also three files with parameters:
- azure-deploy.parameters.dev.json
- azure-deploy.parameters.test.json
- azure-deploy.parameters.prod.json
Each file contains parameters that will be used to create resources for DEV, TEST, and PROD environments. It means that we can have single ARM template with a definition for resources but separate parameters files.
Using Visual Studio Code with ARM templates
With Visual Studio Code extension called Azure Resource Manager (ARM) Tools it is much easier to create and manage ARM templates. To create resources we will also need Azure CLI.
How to create resources with ARM templates using Visual Studio Code?
1. Login using Azure CLI through the terminal with the command: az login
2. Set current subscription:
az account set --subscription <<subscription ID>>
3. Create new resource group by applying below commands:
templateFile="rg-azure-deploy.json"
today=$(date +"%d-%b-%Y")
DeploymentName="deployment-"$today
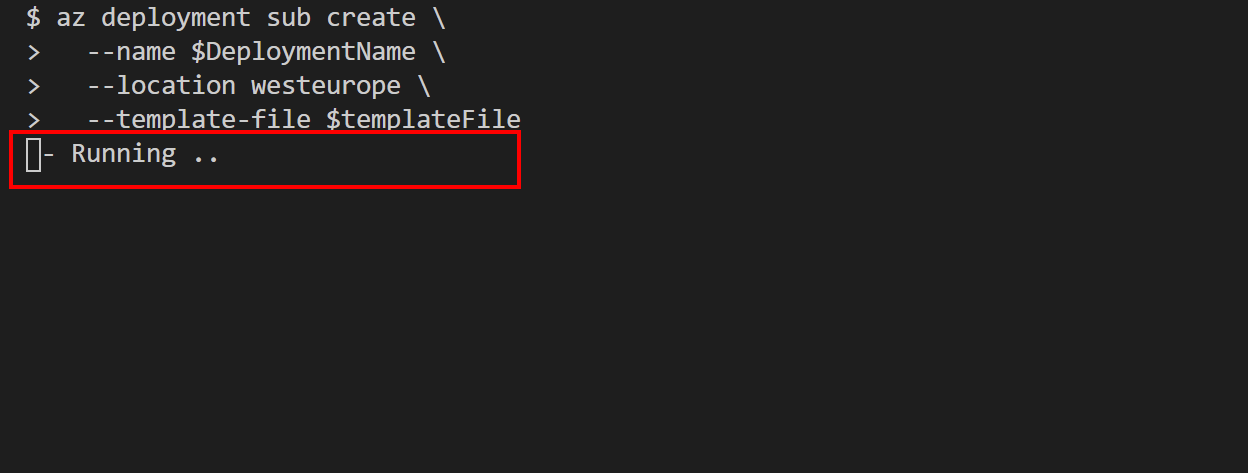
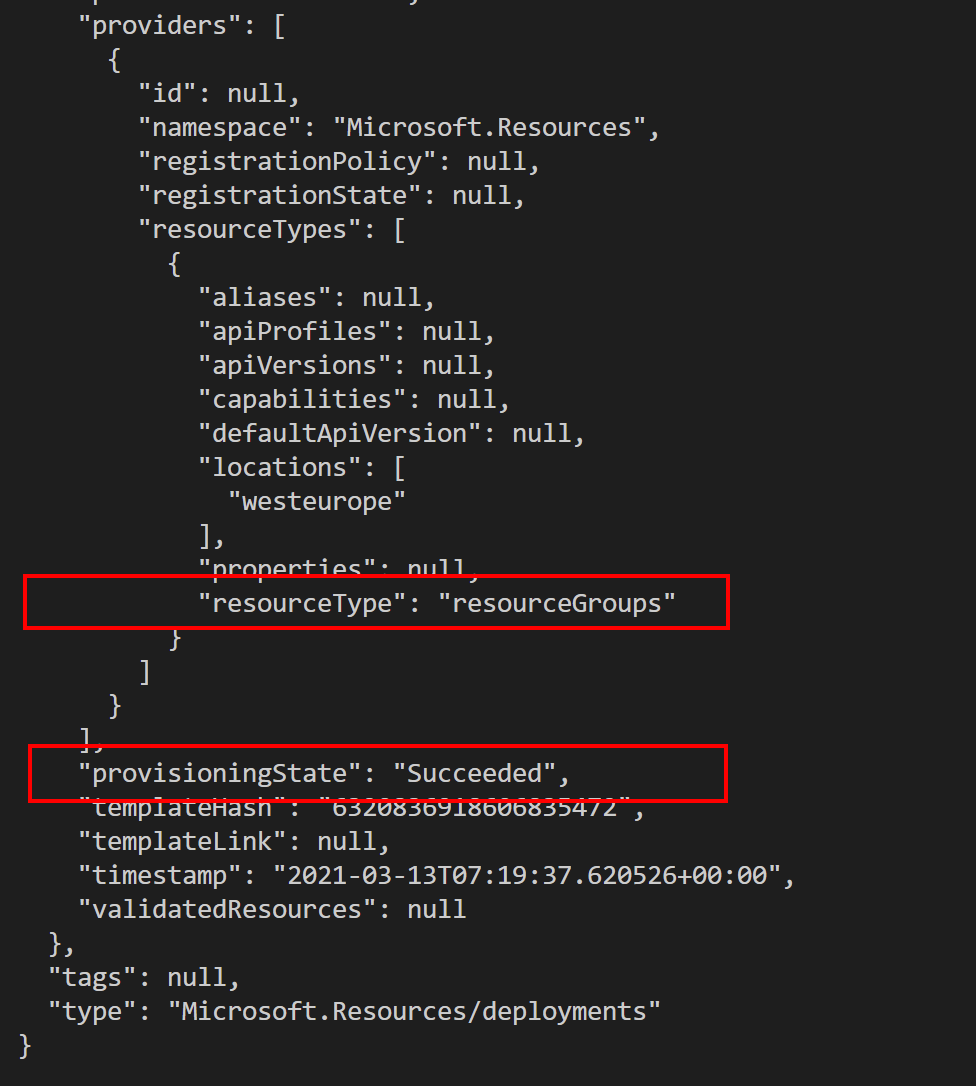
az deployment sub create \
--name $DeploymentName \
--location westeurope \
--template-file $templateFile
where templateFile is the path to the ARM template json file.
4. Create resources inside the newly created resource group:
templateFile="azure-deploy.json"
devParameterFile="azure-deploy.parameters.dev.json"
today=$(date +"%d-%b-%Y")
DeploymentName="deployment-"$today

az deployment group create \
  --resource-group rg-cars-island-dev \
  --name $DeploymentName \
  --template-file $templateFile \
  --parameters $devParameterFile
where templateFile is the path to the ARM template json file, devParameterFile is the path to the parameters file, and resource-group is the resource group name where new resources should be created.
Azure SendGrid service creation disclaimer
To create Azure SendGrid service, terms and conditions have to be accepted for the Azure subscription. To do it below Azure CLI script can be used:
az account set --subscription <<subscription ID>>
az vm image accept-terms --publisher sendgrid --offer sendgrid_azure --plan free
After executing the script, there will be below information displayed. It is important to check if a new command is available:
This command has been deprecated and will be removed in version ‘3.0.0’. Use ‘az vm image terms accept’ instead.
Summary
In this article, I described how to use Azure Resource Manager (ARM) templates and Visual Studio Code to create resources in the Azure cloud. Source code of the Cars Island solution is available on my GitHub so you can see all implementation details.