
Azure Sphere Device Connected To Azure IoT Central
TL;DR
Some time ago I jumped into Internet of Things topics connected with Microsoft Azure cloud. As a result I created my own series of articles about Azure IoT called Cloudy of Things.
You can read them all on this blog.
In this article you can find my latest project in which I connected Azure Sphere IoT device to the Azure IoT Central service to display data from sensors and take up some actions.
Source code for this project is available here
Project structure and architecture

Above diagram presents the whole solution. As you can see it is simple - Azure Sphere IoT device is directly connected to the Azure IoT Central. This is huge advantage because we do not have to create complex architecture.
Microsoft Azure Sphere
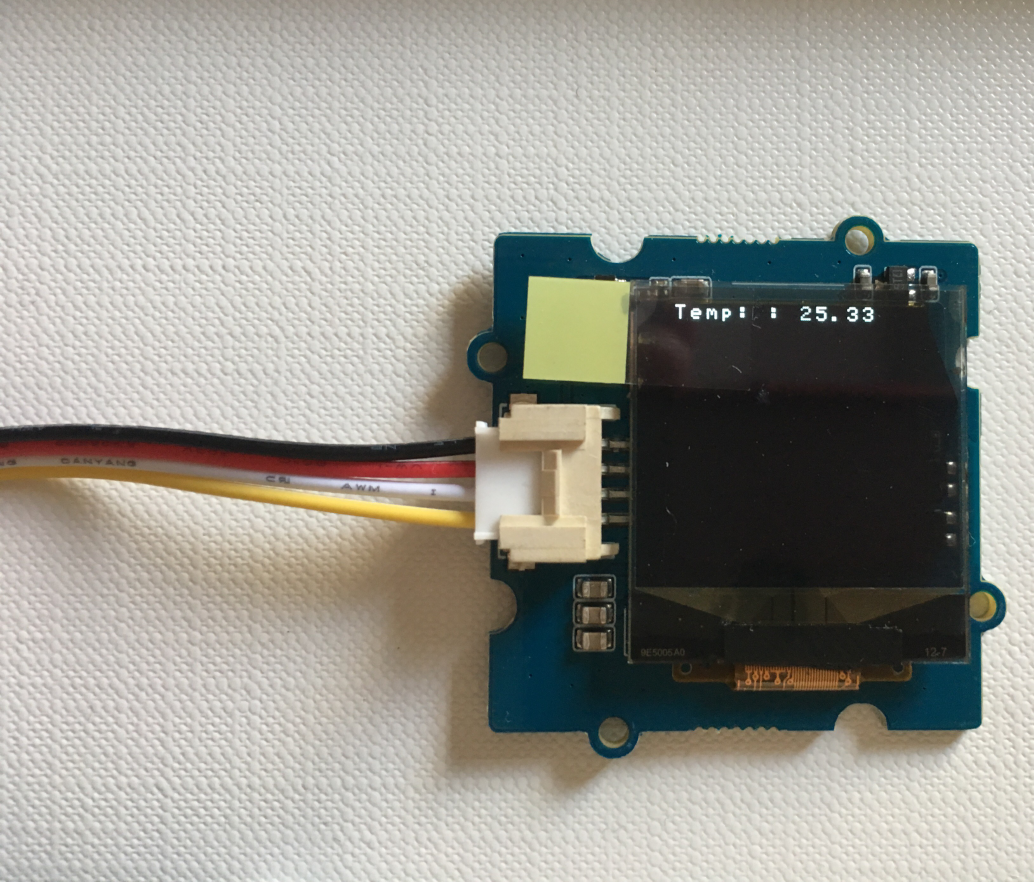
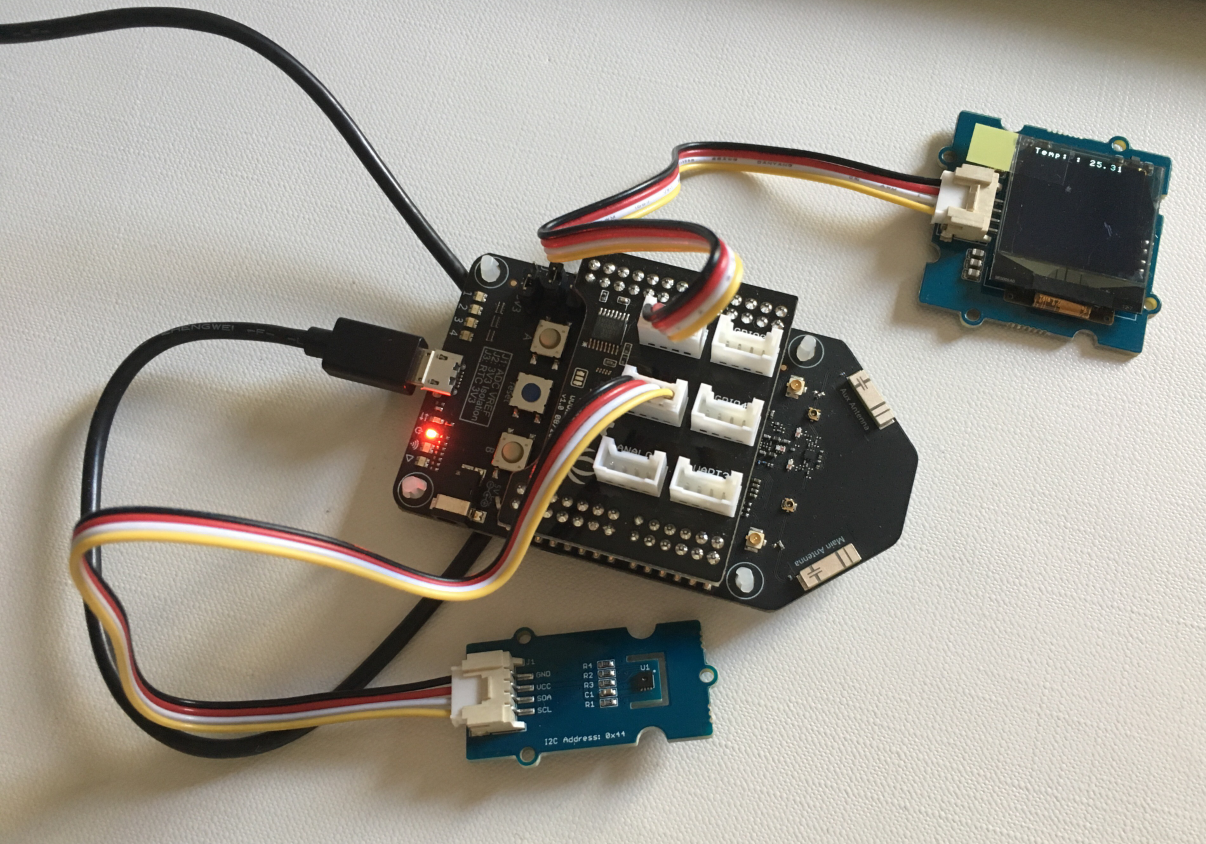
In this project I used Microsoft Azure Sphere Development Board from Seeed Studio
Temperature/Humidity sensor and OLED screen were took from Grove Starter Kit for Azure Sphere MT3620 Development Kit
Azure IoT Central connection with Azure Sphere device
There are few prerequisites you have to complete to be able to display data from sensors connected to the Azure Sphere in the Azure IoT Central portal:
- Create Azure IoT Central application
- Download the tenant authentication CA certificate
- Upload the tenant CA certificate to Azure IoT Central and generate a verification code
- Verify the tenant CA certificate
- Use the validation certificate to verify the tenant identity
Once steps above are completed you can configure sample application from my repository to work with your Azure Sphere device. All above steps are well documented by Microsoft under this link.
Once Azure IoT Central application is ready and you versified Azure Sphere tenant with certificate we can proceed with code sample setup.
To configure the sample application, you’ll need to supply the following information in the app_manifest.json file for AzureIoT:
The Tenant ID for your Azure Sphere device The Scope ID for your Azure IoT Central application The IoT hub URL for your Azure IoT Central application The Azure DPS global endpoint address Follow these steps to gather the information and configure the application:
-
Open AzureIoT.sln in Visual Studio.
-
In Solution Explorer, find the app_manifest.json file and open it.
-
In an Azure Sphere Developer Command Prompt, issue the following command to get the tenant ID. Copy the returned value and paste it into the DeviceAuthentication field of the app_manifest.json file:
azsphere tenant show-selected
- In an Azure Sphere Developer Command Prompt, run the ShowIoTCentralConfig.exe program from the sample repository (the ShowIoTCentralConfig program is located in the AzureIoT\Tools folder). Just type: ShowIoTCentralConfig
When prompted, log in with the credentials you use for Azure IoT Central.
Copy the information from the output into the app_manifest.json file in Visual Studio. In the manifest file you should see that there is new address added to the “AllowedConnections” section that targets your Azure IoT Central application.
Prepare Azure IoT Central dashboard to display data from humidity and temperature sensors
Once device is connected with the Azure IoT Central we can prepare dashboards to display temperature and humidity values. Below steps present how to do it:
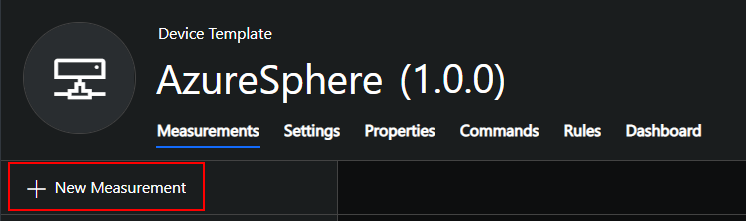
- Open “Device templates” tab:
- Click “New Measurement”:
- Select “Telemetry”:

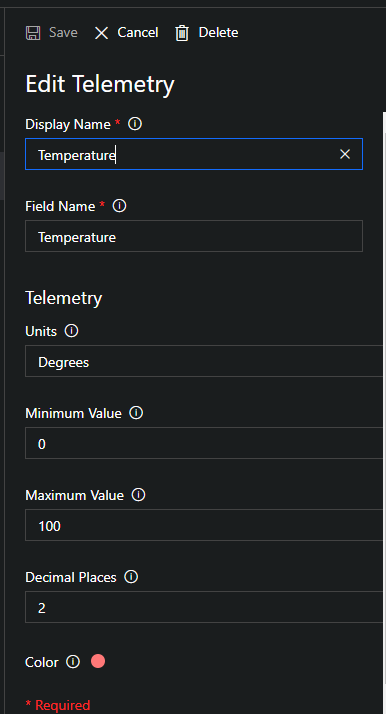
- Provide details about temperature telemetry:
Now repeat the same above steps for the humidity:
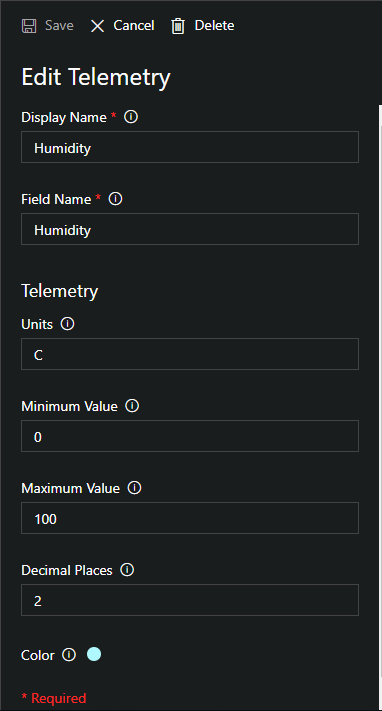
Please note that in the text box called “Field name” you should provide the exact name of the field included in the data send from the device. Below you can see sample application code fragment where I set “Temperature” and “Humidity” values in JSON payload sent to IoT Central:
if (tempDataSize > 0)
	SendTelemetry("Temperature", tempBuffer);
if (humidityDataSize > 0)
	SendTelemetry("Humidity", humidityBuffer);
Connect device with sensors and run sample application
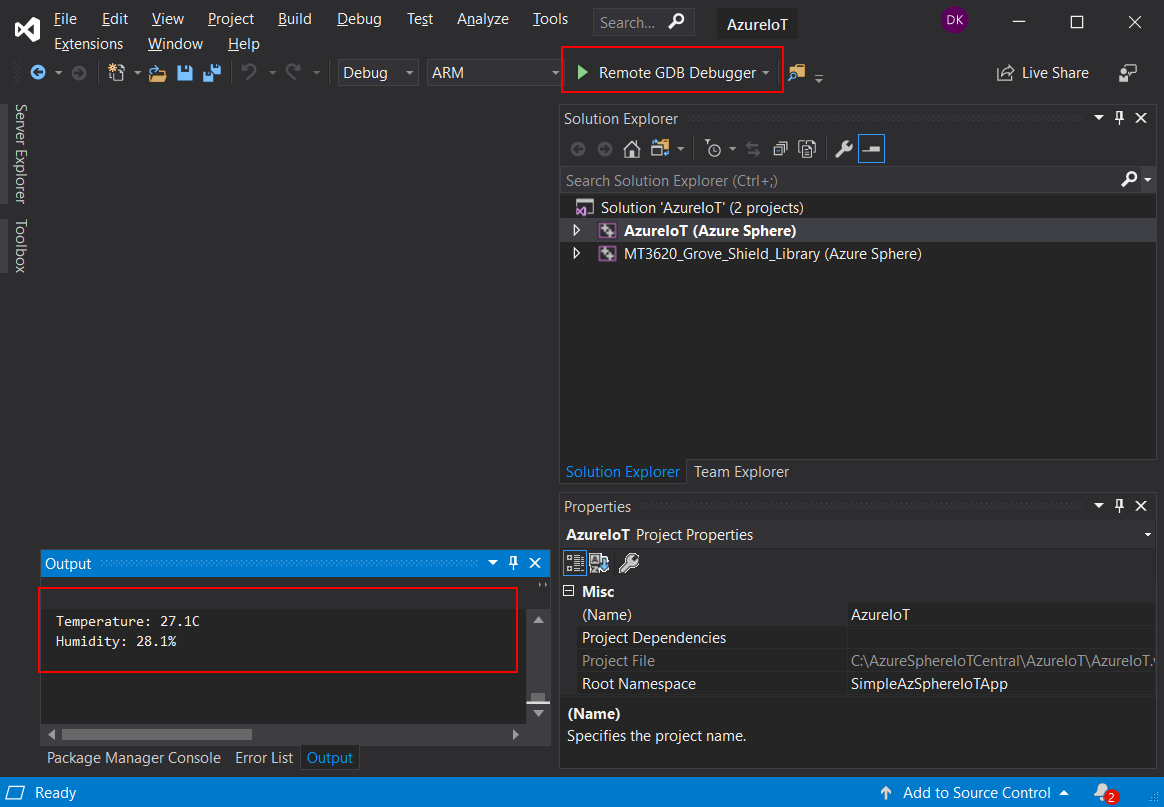
Once you got your Azure Sphere device prepared, run the sample application I provided. After few minutes you should see data coming to the Azure IoT Central.
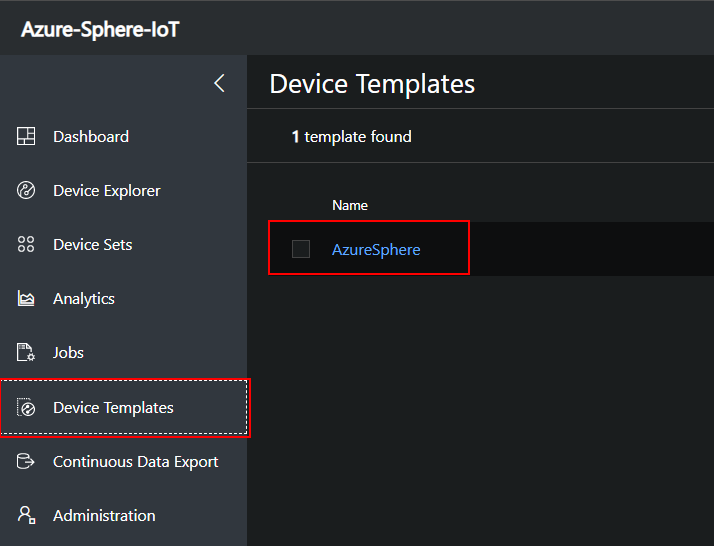
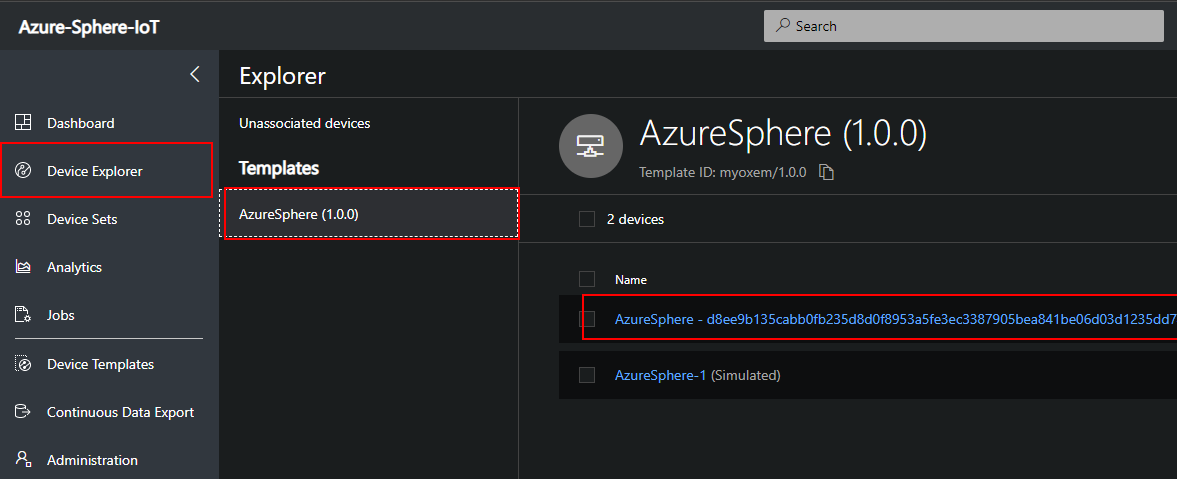
Now open “Device Explorer” tab and select template for the Azure Sphere device:
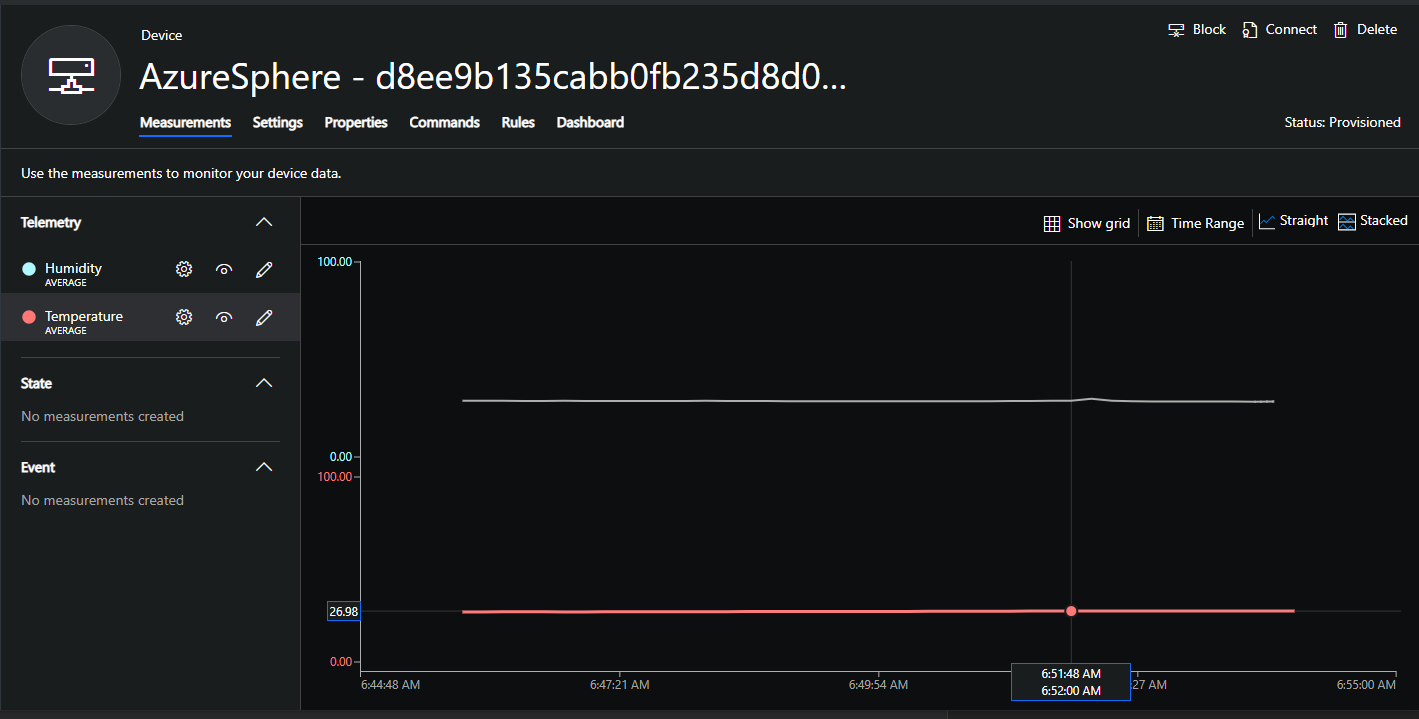
In the “Measuremnts” tab you should be able to see the data coming from the device:
Create main dashboard with data
Now once device is connected with Azure IoT Central there is an option to create custom dashboards. Let’s see how to do it.
-
In the main dashboard click “+New”:
-
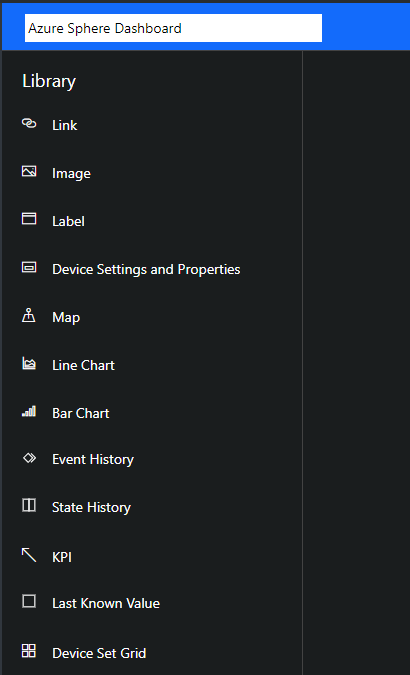
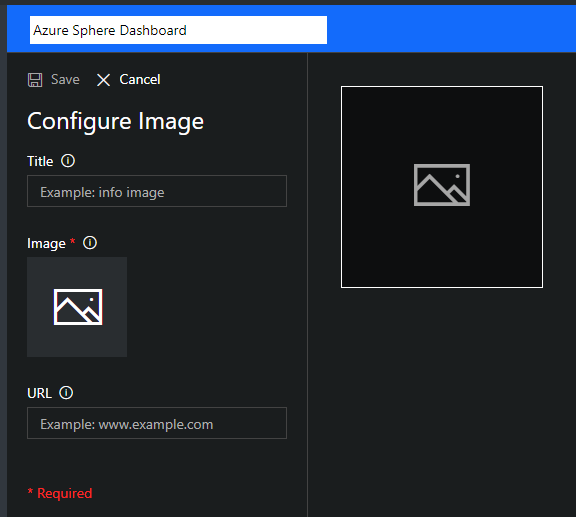
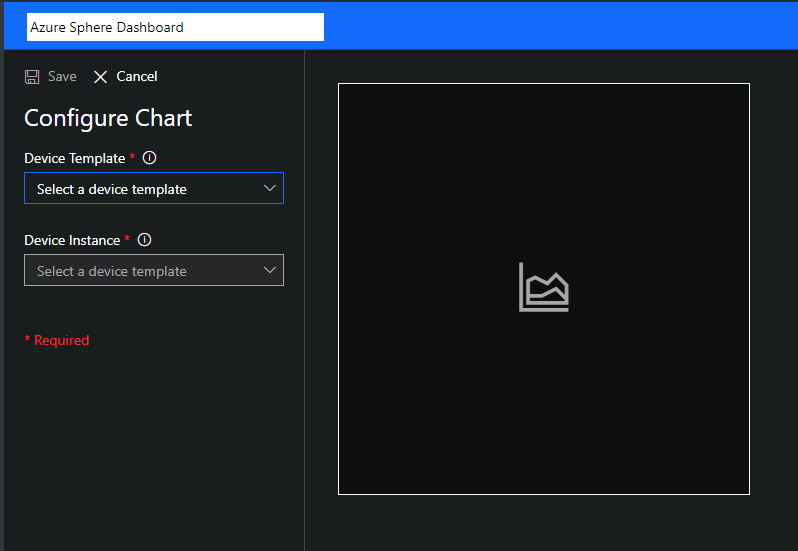
Now you can type the name of the new dashboard and select some elements like image and charts:
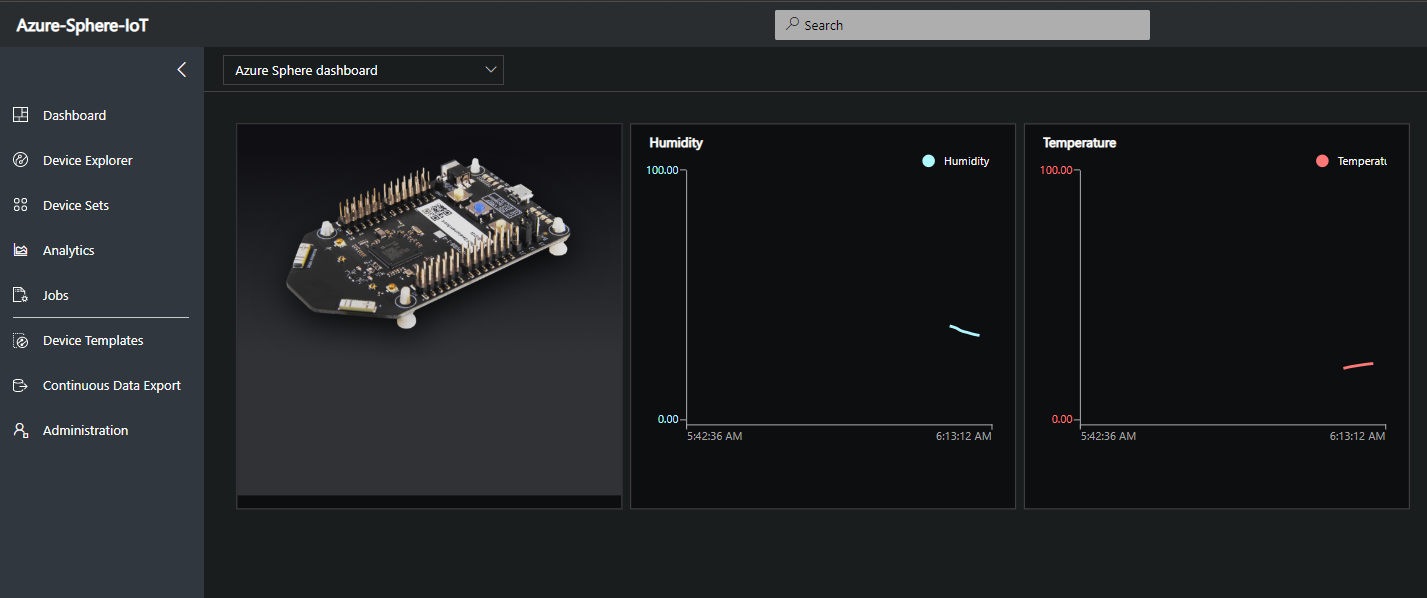
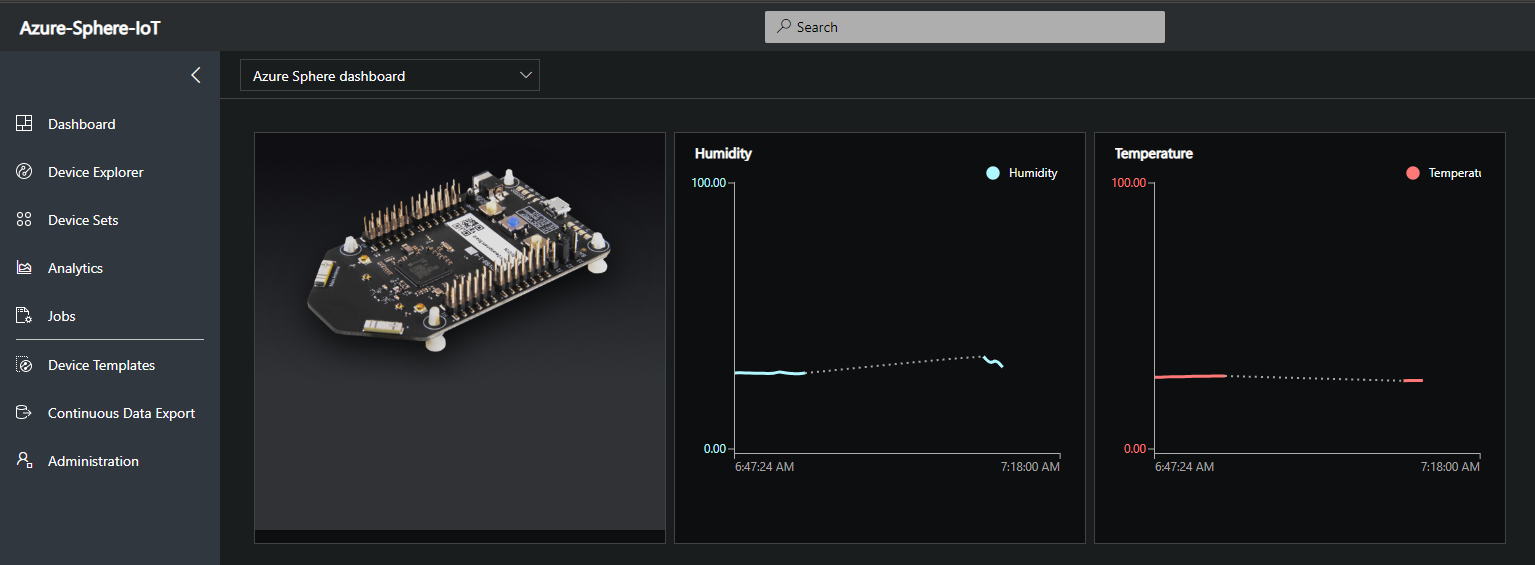
Final project presentation
This is my final project:
This is not the end - you can do more!
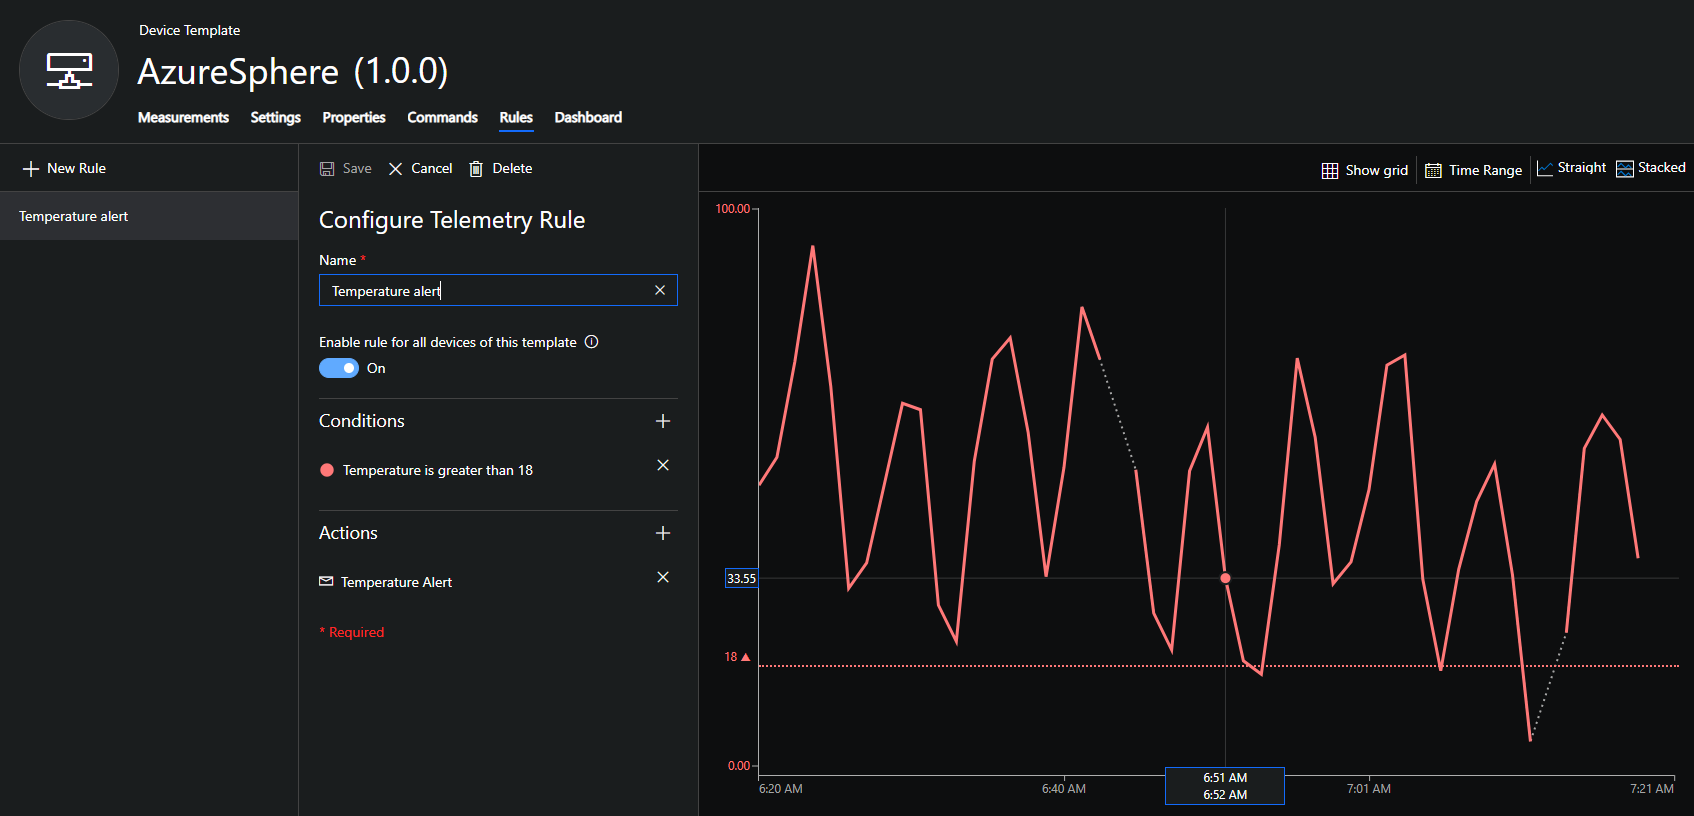
This is only beginning - now once device is connected and we have some measurements collected it is possible to take some actions! Below for instance I prepared rule for the temperature measurement - if temperature increase I will be notified by e-mail message:

I encourage you to read more about rules and action here.